xBridge52G Quick Start Guide
Packing Items
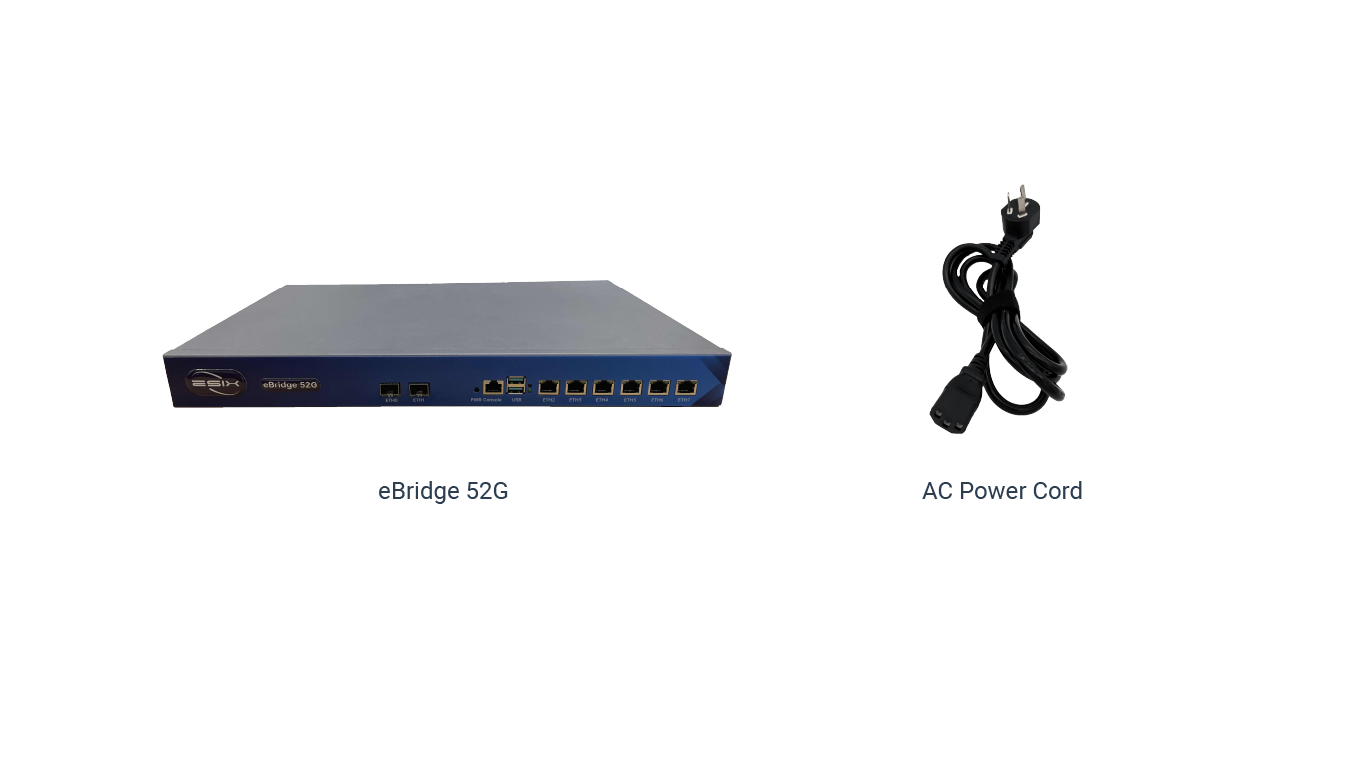
Figure : xBridge52G Package
a. Connect power and install L-shaped kit (if necessary)
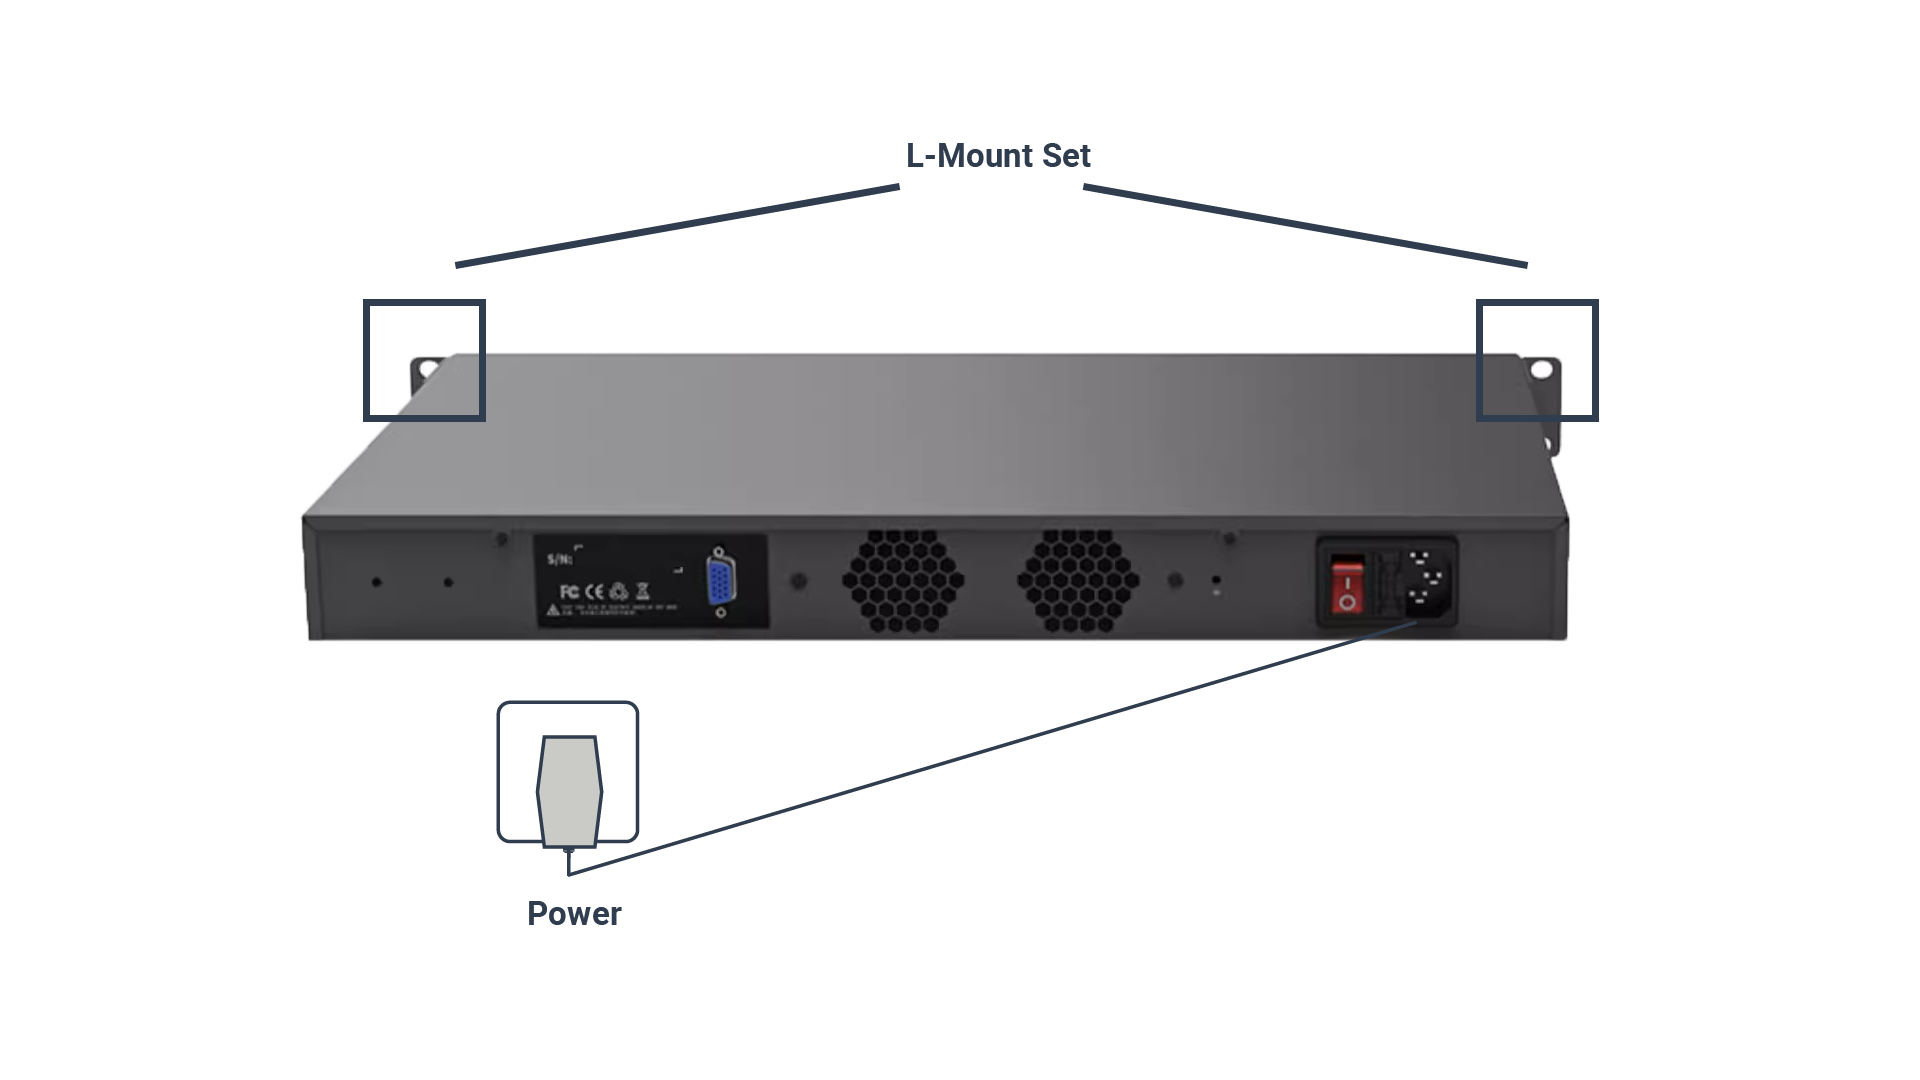
Figure : xBridge52G Connect the power supply and installation kit
Hardware and Interface
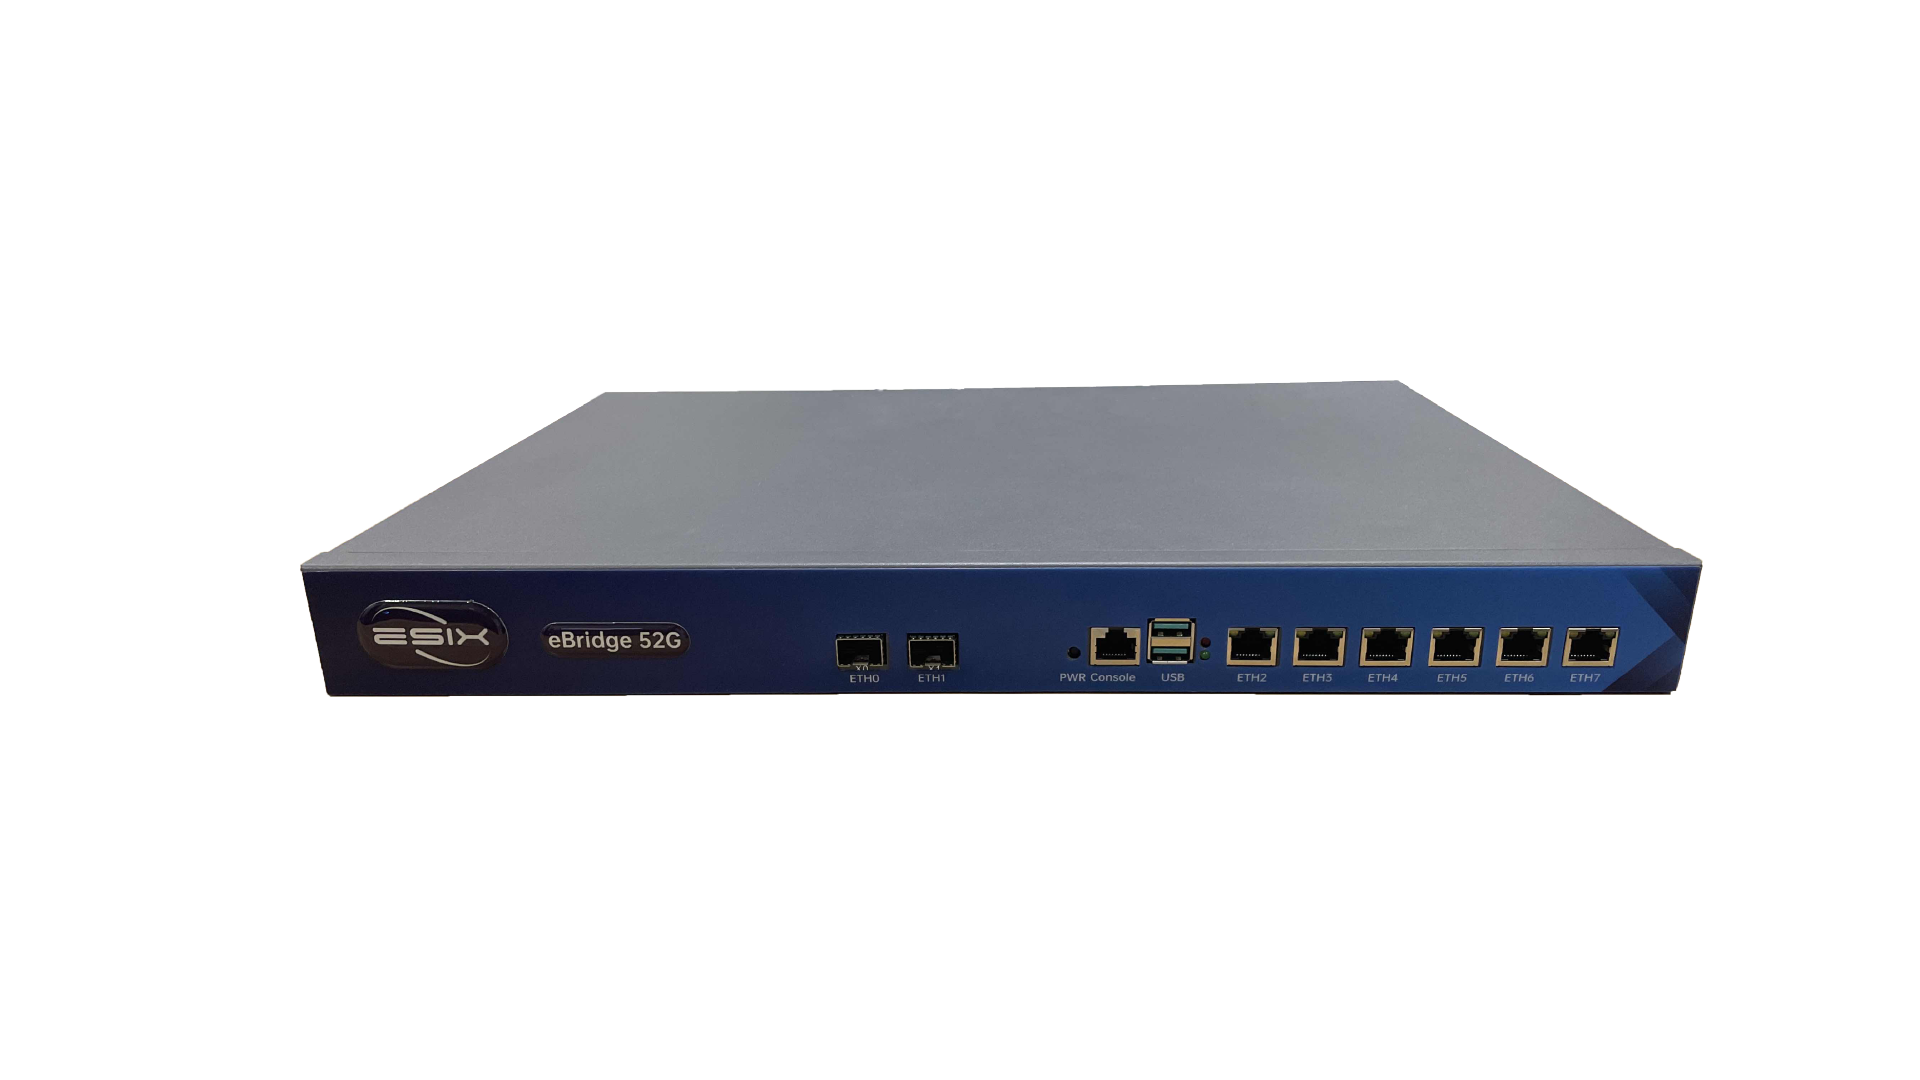
Figure : xBridge52G Front
Status LED indicator
| LEDs | status indication |
|---|---|
| PWR | Power indicator light, the LED lights up when the device is powered on |
| ETH | On – Connected, Off – Disconnected, Flashing – Transmitting data |
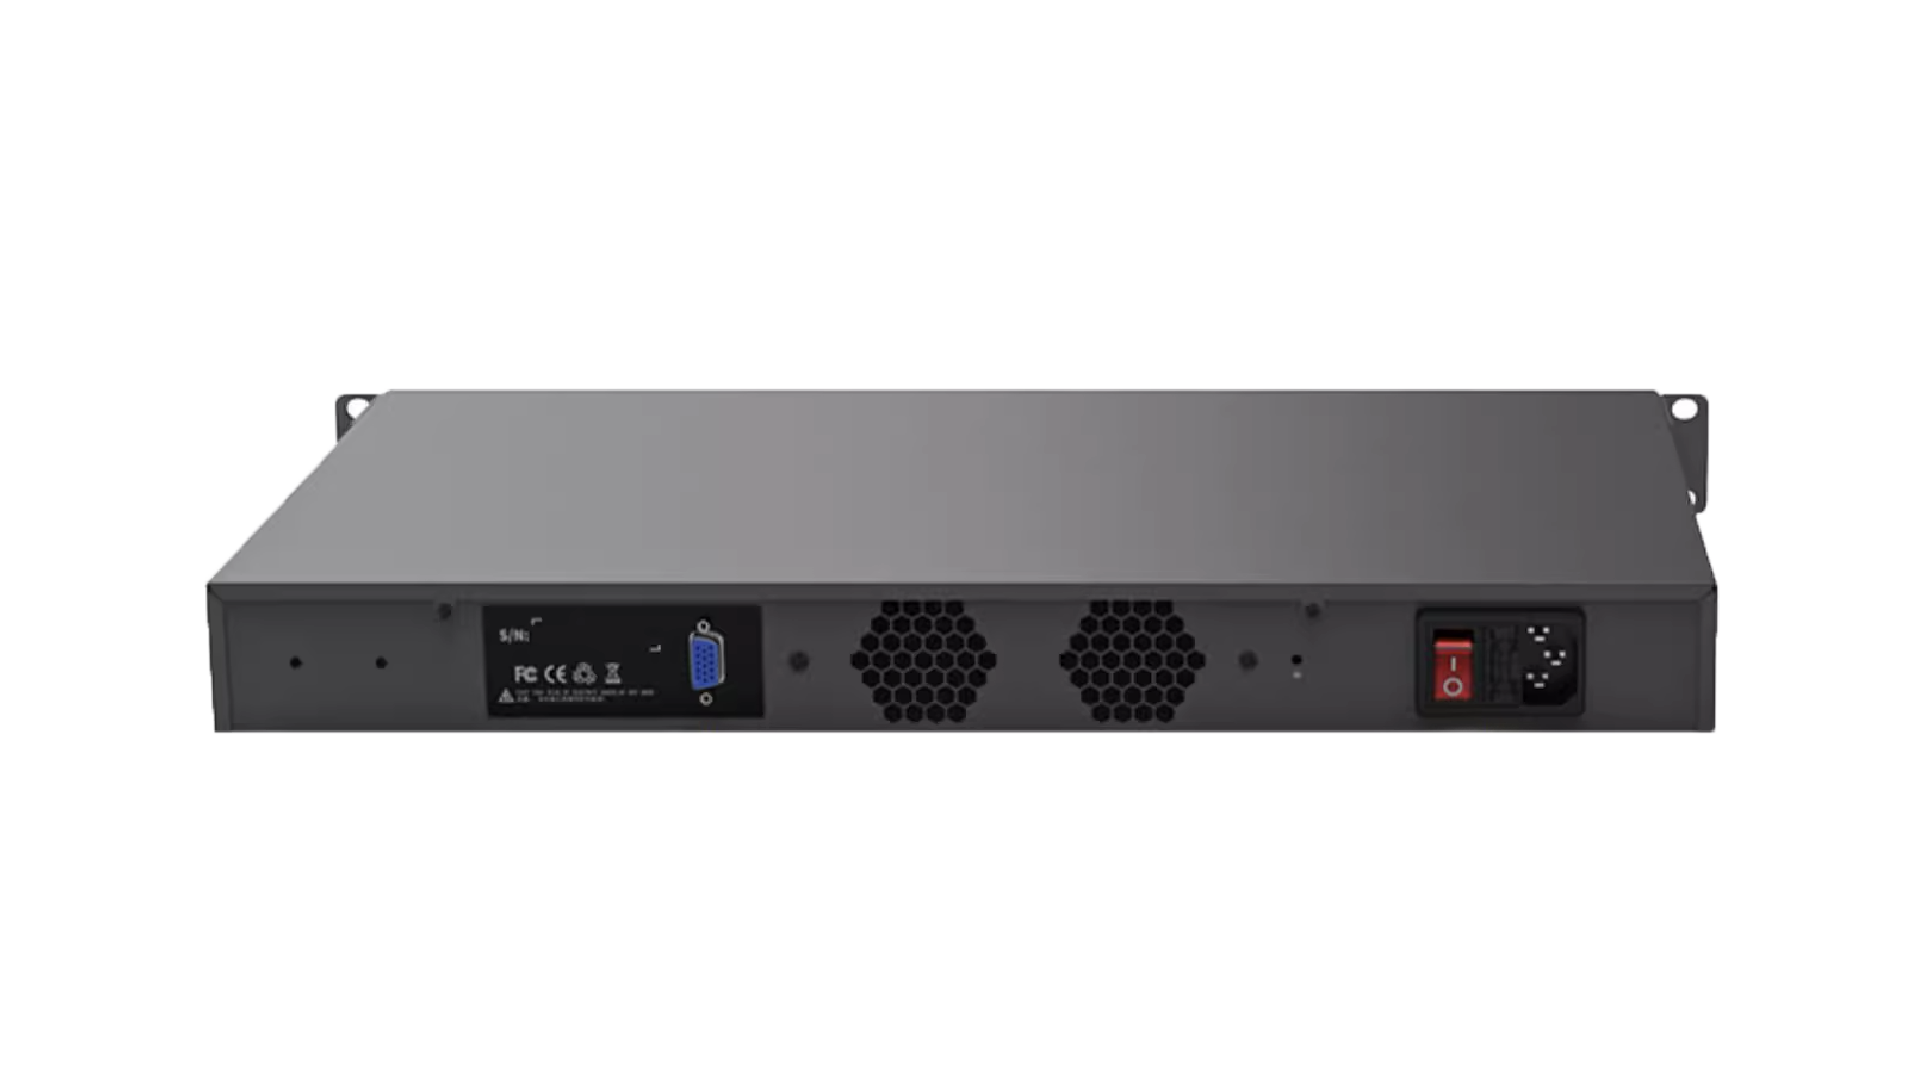
Figure : xbridge52G Back
Enjoy the Internet
• Wired
Connect your computers to the router's LAN ports via Ethernet cables.
Customize the xBridge52G
Login
Make sure your computer is connected to the router (wired or wireless).
Launch a web browser and type in
https://192.168.11.1
- Username : admin
- Password : eSix6688

Figure : Web Login Page
Connect via Ethernet/PoE
Connect the xBridge 52G's Ethernet port (ETH) to your router via an Ethernet cable. The router's DHCP server should assign an IP address to the gateway.
You can change the following default settings if you wish (see user manual for details).
Figure : Connect via Ethernet settings page
Safety Instructions
- Keep the device away from water, fire, humidity or hot environments.
- Do not attempt to disassemble, repair, or modify the device.
- Do not use damaged charger or USB cable to charge the device.
- Do not use any other charger s than those recommended.
- Do not use the device where wireless devices are not allowed.
- Adapter shall be installed near the equipment and shall be easily accessible.